

As an author of erotic stories, I sometimes need other things beside lube and my keyboard for satisfaction. Being a scribbler of dirty stories, completing one of my masterpieces requires a book cover to show off the contents. Also, the goal is ultimately to extract the pervert’s credit card from their raincoat to purchase a copy of said story.
Creating a proper cover requires a graphics design software package specially designed for the job. Certainly, products such as PhotoShop or GIMP can be employed, but my go-to program has always been CorelDRAW. Corel has been around for years and is a staple of the commercial graphics design business.
The biggest impediment for many authors is the cost of CorelDRAW, but there are now alternatives to be considered.
InkScape is an open-source (i.e., Free) software program for graphic design similar to CorelDRAW. Programmers typically develop open-source software as a labor of love and not money. As a programmer myself, I classify Corel and InkScape as object-oriented software packages.
Object-oriented programs or OOP deal with objects rather than the entire “thing.” For example, when discussing a book cover, each thing on the cover becomes an object, such as the image and blocks of text.
I’m currently working on The Perfect Wife. A story about a woman sucked into the clutches of swingers while her husband is out of the country. But, I don’t want to talk about the story, only the cover.
Using the latest version of InkScape, I developed a cover image to illustrate how easy it is for a person to create and save themselves the cost of hiring an outside graphics designer. I’ve outlined the basic steps I used to generate the output cover image for the publisher.
Starting with the cover image, I resized it to 1600×2400 pixels using PhotoShop (or GIMP).

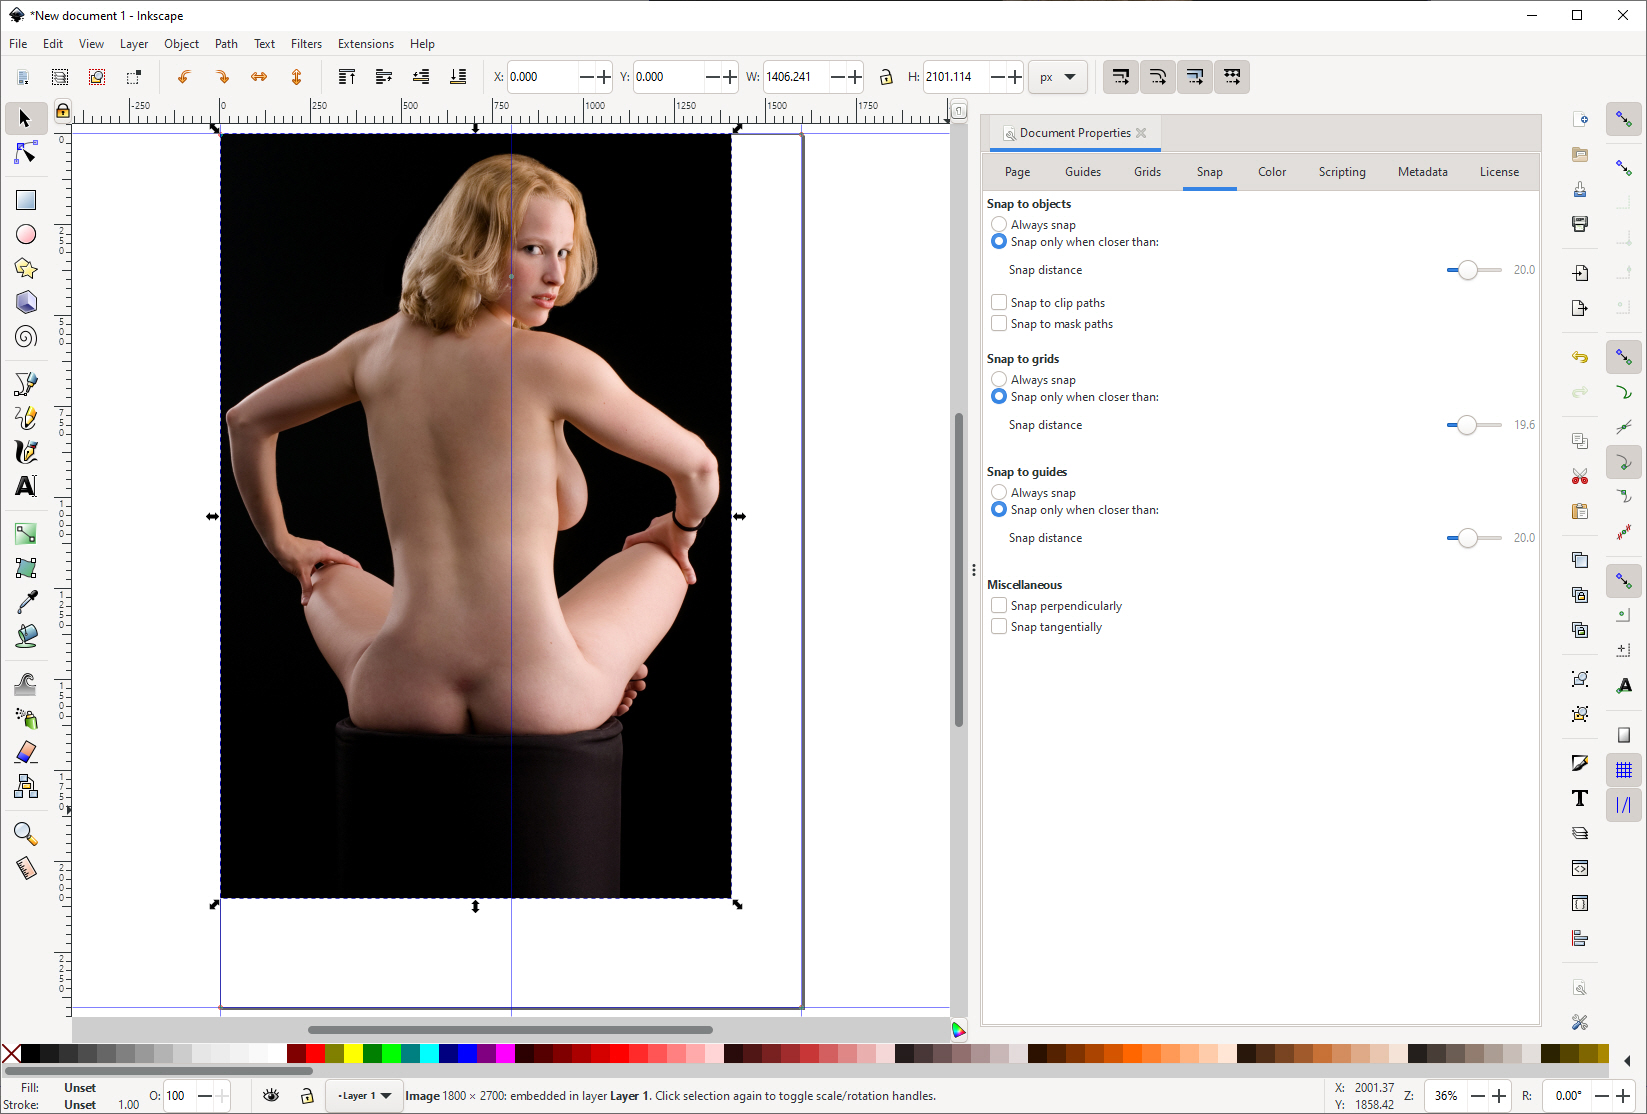
Next, I created a new project with InkScape as 1600×2400 pixels in size. After adding a vertical centerline, our empty project looks like this:

Import the base image and drag it to the upper left corner.
Then grab the lower right-hand handle and drag the image to the lower right corner of the cover.
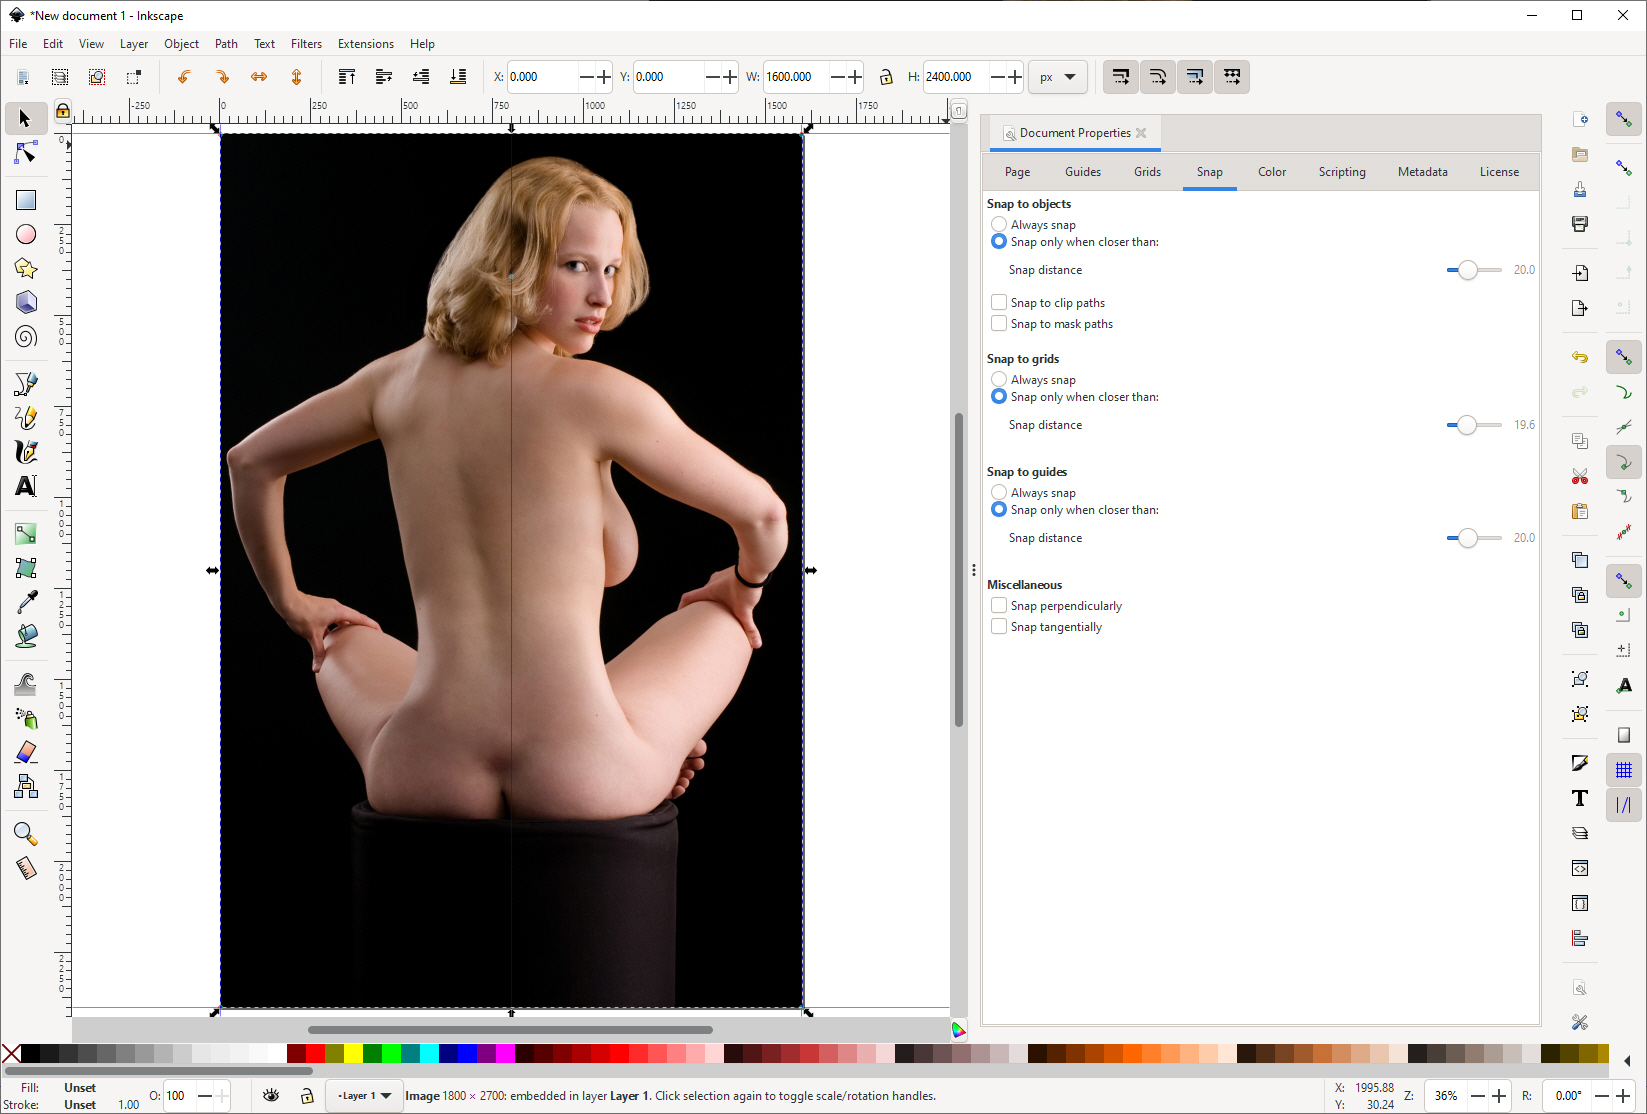
At this point, all we have to do is add the text blocks for the story title and the author.

The block of text (an object) has handles on all corners and center points. This allows the text to be dragged around and sized as necessary. See how the addition of the vertical centerline makes it simple to ensure that the title text is centered on the page.
Doing the same thing with the author’s name and the cover is complete. At this point, export the resultant product, and you have a 1600 x 2400 image file to supply to the publisher. Then go to the mailbox and wait for the money to pour in from your frenzied buyers! Don’t forget to bring a bag to put all the money in!
Granted, this is a simple cover, but the idea here is to show you how an author can create a cover using free software. I know that I used PhotoShop, but I could have easily used GIMP to edit the initial image of the blonde to resize it. I should have used GIMP as that would make the creation of this cover image free, ignoring any cost to take or acquire the underlying image itself, but I didn’t.
I’m Larry Archer, and I write erotic stories for the huddled and yearning masses. Foxy and I are swingers in real life. I write erotic stories based on the things we do and see. While the Lifestyle is not for everyone, it’s been fun for us. My smut is explicit and hardcore but with a somewhat plot. My porn novels are generally positive and fun, as this reflects how enjoyable swinging has been for us. If you’re interested in checking out my stories, I publish them at all the popular outlets.
Kinky Literature
Amazon Kindle
SmashWords
Apple iBooks
Kobo
Barnes and Noble
Scribd

Hi, Larry,
I should try this. But I’d still need to use GIMP to do a layered cover, wouldn’t I?
BTW Amazon definitely would kick back this cover… ;^)
xxoo,
Lisabet
LikeLiked by 1 person
Lisabet,
Corel just deals with things as objects. An image is an object. A block of text is an object. It is sort of like cutting stuff out of a magazine and tape it down on a piece of paper. You can do the same thing with PhotoShop or GIMP but you end up needing to flatten the image which puts everything into one image. With Corel or InkScape, everything stays separate and you can move stuff around, add/delete, etc. When you are finished then you export an output image that can be used for the actual cover image. Once you’ve designed a cover, then you can copy the Corel/InkScape file and edit it for a new cover. That way you don’t have to do the little setup things that take so much time. For example, if you realize that you’ve misspelled a word or think the title would look better in a different spot, different color, different font, it’s simple to move the title around without having to recreate the final copy. I think the concept is initially difficult to appreciate but after using it for a while it helps a lot.
For instance, a print paperback cover is three parts, the back cover, spine, and front cover. A PDF file of all three parts must be submitted to the publisher. What you end up with is a wide image that would be as if you opened a book and laid it face down such that you saw the back, spine, and front as one image.
For a print book of the same page size, the front and back images are always the same. The spine varies with the number of pages and causes the total width of the output file to be wider or narrower. Doing the image with a graphics editor like PhotoShop or GIMP is a real pain as the front cover portion moves left or right depending on the number of pages.
Doing it in Corel, I simply make a copy of a previous print cover. Then the cover image calculator tells me the width of the spine and the total width of the combined image. I start with the existing cover, change the page width to the new total width and drag the pieces into place. Assuming I’m starting with the eBook cover image, I can create a paperback cover image in 15-30 minutes easily.
I had the same thought about the cover crossing the line with Amazon but could probably get by with it on Draft2Digital. To fix that in Corel, I’d just delete the image and import a replacement image, and export a new file.
LikeLike
Completely off the wall question, but what format image file do you save, and what will Amazon, et. al, accept?
jpeg, isn’t a good format for images with text, since it’s a lossy compression and doesn’t handle straight lines with very high contrast. that’s exactly what text is.
you can see this in some jpegs with the floating dots surrounding the various letters.
my preference has always been tiff, for this very reason, but that comes from experience doing desktop publishing at work, back in the 80’s.
i haven’t played with png or any of the more recent formats to get a good feel for how good or bad they are in this regard.
As you know Larry, I use MS Publisher, and can do just about everything you can do in Corel. It’s included in many MS Office bundles, so Lisabet, you might consider that if you have it.
One nice thing is that you can create a custom piece of “paper” at what ever aspect ratio you want.
If anything goes “off the paper”, it isn’t saved as part of the image file you export. You only get what’s constrained by the “paper” size.
Handy if you want to have text boxes at an angle, that have color fill or borders. Just run them off the page.
I haven’t looked to see if there’s a setting to define the dpi output, but the ones I’ve played with come out at a comparable value as what you have in your example.
LikeLiked by 1 person
Mark,
Amazon will only accept a JPG and maybe a PNG. I always provide a JPG or PDF as required. For a cover they want 1600×2400 pixels at 300 DPI for best results. While I agree that a TIF is a better format, all the publishers I work with want JPGs. Now for print work, they want high rez PDF’s and accurate down to a 1/1000th of an inch.
The biggest problem I have with switching editors is having to learn a different software package. Plus I’m not 100% sure that all of the bells & whistles that come with Corel such as guidelines, layers, and the such are in Publisher. I have little motivation to switch as long as what I have works.
I don’t know for instance if Publisher uses objects or not. In other words, being able to move the title to some other part of the page. Or being able to accurately position things and create pages that are exactly a specific size in inches or pixels. For me, there are too many unknowns and I’m not motivated to try.
LikeLike
larry,
i know you’re happy with corel, i brought it up more for lisabet’s knowledge, since she might already have publisher., and so wouldn’t have to get something else.
but to answer your question about publisher, yes it has the same functionality regarding objects.
each image is it’s own layer, as are any text boxes or word art items you plop on the “paper”.
to move them around you simply click and drag. you can also specify specific locations in the properties.
that’s why i specified a “width” of my paper at 8″. it makes doing the math in my head regarding horizontal location easier.
you can move any item forward or backwards in the layers.
it’s very similar to word how it handles most formatting and positioning things.
the biggest advantage is that you can specify no margins, which you can’t do in word.
now i’ve only played around with making e-book covers, i’ve never tried to make a printed book cover with the constraints you describe.
if i were to try, i’d probably make the front cover, back cover, and spine as separate files, save them as images, then make a new document with the “paper” the right dimensions. plop the images on this page with the layout 0 in the vertical, and the horizontal appropriate to put each in its correct location.
but as i said, keep using corel if you’re happy with it.
i’ve been ensconced in the ms office environment since it was introduced almost 40 odd years ago, so i’m very familiar with it.
LikeLike
With print books Amazon goes through a check process where they check the cover and every page. If anything goes over the line, they reject the book and you have to fix it to proceed. All this stuff all revolves around the user and what tools he/she has at their disposal. It is a humbling experience. 🙂
LikeLike